The Paper Chase
Sanding improves with material know-how and can be made easier and more effective by choosing the right type of abrasive and backing, changing the grain pattern and grit size, and altering both the speed and tension
Uneeda, an abrasives supplier, reprinted an article in its April newsletter that addresses common questions related to wide belt sanders (available at sandpaper.com). The piece talks about belt tension, choosing the right abrasive, the volume of stock removal, skipping grits, segmented platens, and avoiding chatter. What comes across is that sanding is a very subjective activity. Each job can be made easier and more effective by choosing the right type of abrasive and backing, changing the grain pattern and grit size, and altering both the speed and tension.
Those options exist whether a woodworker is hand sanding a small carved detail or planing a large panel to a specific thickness. Sanding is about discovering options and making the best choices.
Abrasive backer options
We covered the various types of abrasive coatings – aluminum oxide, silicon carbide, ceramic alumina – in the December 2021 issue of Woodshop News (available at woodshopnews.com/features/neither-sand-nor-paper). But that article didn’t get too far into backing, which can be a critical option in terms of results. The most common backer choice for larger machines is cloth, but single sheets and discs often come with paper or film backers. Mirka also makes mesh backing, and hardwood floor installers are familiar with another option, hard resin fiber.
The first of these, cloth backers, are popular because they don’t break down quickly and they’re less sensitive to heat build-up than paper. That doesn’t mean they don’t get hot, but they do last longer when that happens. The most common grades (called ‘weights’ in the trade) of cloth backer are Y and X. The cloth is usually made from woven polyester strings, but there are some cotton versions in the lighter X-weight, and some of the Y-weight cloths may incorporate a little Nylon. Coarser grit ranges of up to 120 or so are generally coated on Y-weight cloth, while medium and finer grits up to 400 will use X. Ceramic coatings are most often applied to the less flexible but more rugged Y-weight.
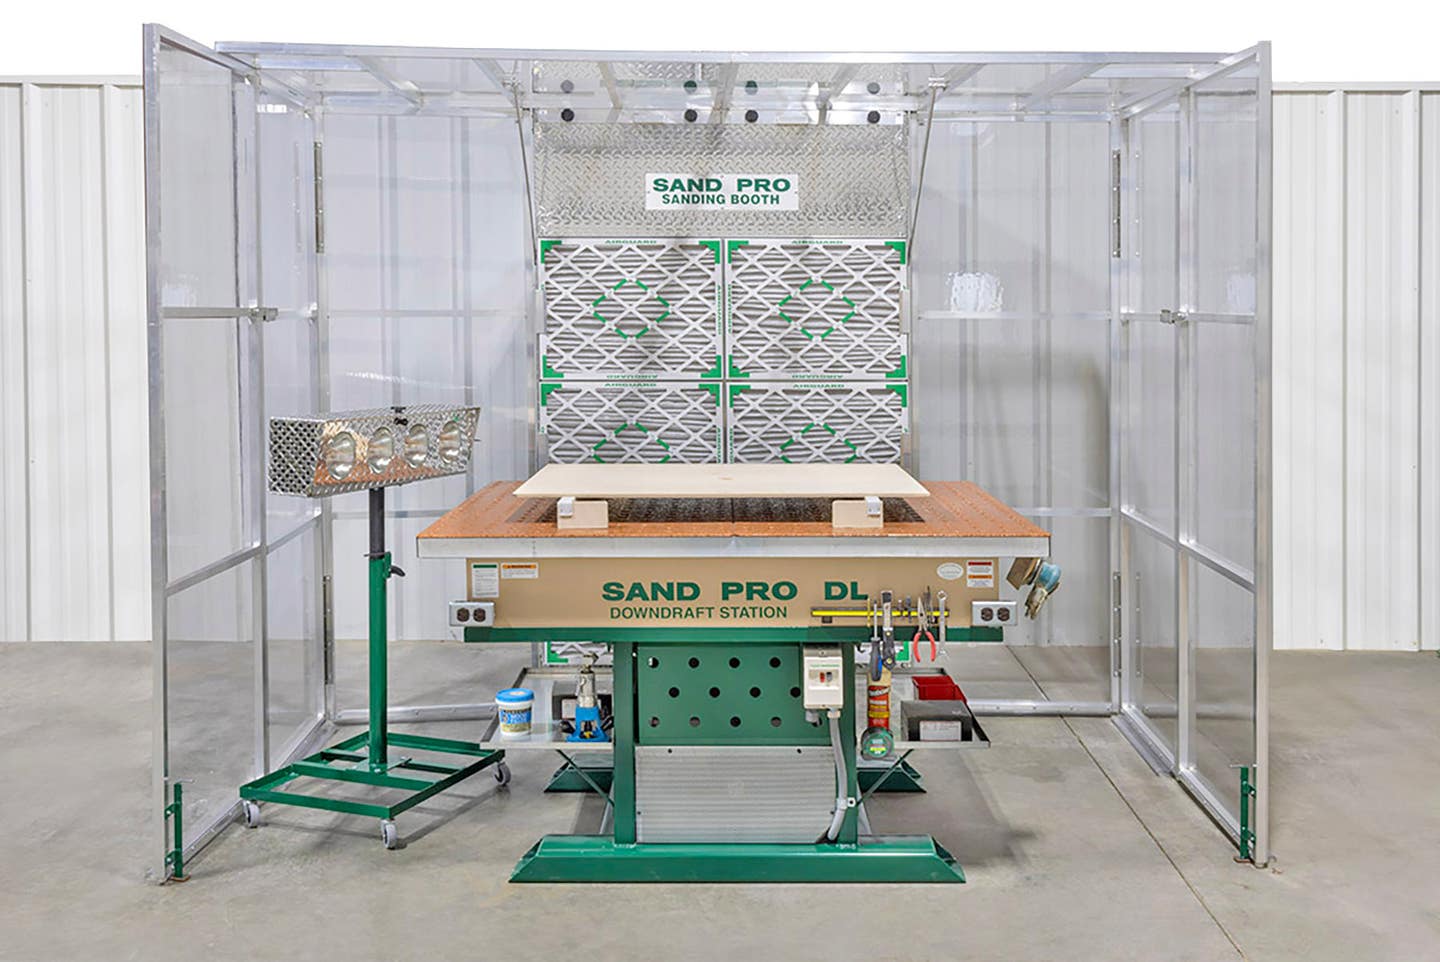
There are some other options, such as J-weight. This is a light, flexible cloth that can be composed of cotton (most common), polyester or even rayon threads. This is more of a finish sanding solution (up to 600 grit) and while it’s a little delicate for large amounts of stock removal under high pressure, it’s very flexible and is the backing of choice in many spray booths and refinishing shops. The next step up from here is F-weight, which is extremely flexible. J- and F-weight cloths are known in the trade as ‘jeans’ because of their similarity to denim. And at the other end of the scale, H/HH-weight cloth is used for serious stock removal when coated with coarse grain. Overall, look for Y-weight cloth in medium grits and X-weight in finer ones.
Paper backers are more traditional in nature, and less expensive than cloth to manufacture. That doesn’t mean they are a lesser option. In fact, F-weight paper is used extensively in woodworking as a backer for both wide and narrow belts, as well as on sheets. Paper backers are graded according to an old printing scale: they’re named for the combined weight of 500 standard sheets, which is known as a ream. The grades (designated as F through A) weigh from 165 to 40 lbs., respectively. For comparison, the paper in an office printer is usually in the ballpark of 20 lbs. per ream. The A and C weights are used for fine, flexible solutions, while the heavier D, E and F papers are more suited to medium and heavy grits.
Film is commonly used to back small sanding discs in dual-action hand sanders as it’s more durable than paper and its plasticity can be useful as a backer for wet/dry coatings. Some wet/dry papers should be soaked overnight in a water-detergent mix: read the instructions for best results. Most wet sanding is done between coats of finish, rather than on bare wood. Water raises unsealed grain, and wet sanding is a lot gentler (less abrasive) than dry sanding so it can take a while. Of course, the grits are a whole lot finer, too. Most shops won’t wet sand veneers or thin stock (especially veneers laid down with hide glue) and will rarely sand bare wood with liquid unless they are producing something such as high-end musical instruments. Wet sanding can lube the abrasive enough to avoid the scratches produced by even very fine dry paper, and the liquid can pick up some of the residue and remove it. It’s not like creating a swarf when sharpening on a stone, though. The slurry created by sandpaper on wood doesn’t increase the abrasion.
Grain patterns
The grit of the sandpaper grain isn’t the only option that woodworkers can specify. They can also choose the pattern of a coating. Open or semi-open coats mean there is less gritty grain per square inch, while closed coats have close to a complete covering. In closed coats, there are no ‘bald’ areas on the sandpaper for residue (dust) to collect. That makes closed coats ideal for sanding hardwoods, even wide grains such as oak or hickory. On the other hand, if a shop is sanding cedar, redwood, pine or SPF, an open grain works better on these softer woods as it won’t gum up as quickly with dust and sap. A true open grain only has about half or even less abrasive than a closed grain coating. And a semi-open is in between, with about 70 percent of the surface covered in grit.
With a more open the coating, sandpaper becomes less aggressive and generates less heat because it cuts at a slower rate. But the big advantage is that the dust has somewhere to go, and as the sander moves across the work, those big gaps allow a dust collector to clean up. That means the abrasive isn’t cutting the same dust more than once. Open coats also work best with non-phenolic plastics.
A closed coat means there is more abrasive doing the work, so the finish tends to be finer, and even though it clogs up faster, that’s usually offset by the fact that it sands faster. The clogging occurs when the valleys between the sharp prismatic grains fill up, and eventually build higher than the tips. At that point, a woodworker is just polishing the surface with old wood powder and resin.
Speed
The faster you move a sander across the work, the less sanding you do. That’s just common sense. The shorter the period of time an abrasive is in contact with the wood, the less it will remove. Slow is better. But speed isn’t an isolated option. The woodworker needs to match speed to pressure. For example, RO (random orbit) sanders are designed to move slowly but not to be pressed down hard. If you can hear the motor slowing or working harder, then back off a little and let the tool do its job. Too much pressure will slow down the number of orbits, create excessive heat (always the enemy), dig too deeply along one edge of the pad, and eventually compress the backing pad and wear it out prematurely. If the sander isn’t cutting as it should, it probably needs a more aggressive grit rather than more pressure.
Woodshops can trip over speed in another way, too. The number one mistake among rookie woodworkers is that they convince themselves that skipping several grits with an RO sander is more economical, both in time and paper costs. It isn’t. But skipping more than one grit in a RO sequence will actually slow down the job because it will deliver a more scratchy and uneven surface. It’s usually okay to go from 180 to 240 (jumping over 220) at the fine end of the scale but skipping grits at the coarse end rarely delivers good results. Going from 40 to 80, and by-passing 60, will leave more visible swirls. And unfortunately, those orbital scratches get a whole lot more visible when a stain or coating is applied, which of course is too late to fix them. It’s a good idea to use the side of a pencil lead (not the sharp point) to draw squiggly lines on a surface that needs to be sanded, and to check the results when the line disappears by using a low raking light that can create shadows that reveal whether there are any ridges or valleys left.
Woodworkers who read Uneeda’s article on wide belt sanding may wish to scan through the rest of the advice from the company’s technicians. They cover subjects such as static build-up, things to avoid when using an orbital sander, and the various problems with different belt joints. That last is an interesting topic, as it can determine whether a belt can be reversed. For example, swapping an oscillating edge sander belt end-for-end lets a shop take better advantage of its full width.
The surprising thing about sanding options is how they apply across the entire gamut of machines. That universal characteristic can be helpful because the mistakes that show up from applying uneven pressure or using an overly aggressive or passive grit in the smallest palm sander are amplified when it comes to drum and wide belt sanders. Over time, we instinctively learn what will cause a problem. The trick is to acknowledge it early enough and choose better options while the window of opportunity is still open.
This article was originally published in the June 2023 issue.