‘Neither sand nor paper’
An explanation of the abrasives used in today’s sandpaper, plus a few tips for best results
Sanding is a chore. There’s just no other way to describe it. So, woodworkers are always open to products that can reduce the manual labor involved or speed up the mechanical process. Choosing the right grit, backer, and form can deliver better results in less time. Choosing the best abrasive material can also be a game changer.
For the most part, today’s ‘sandpaper’ is neither sand nor paper. The gritty surface is most often manmade now, and the backer can be anything from cloth fabric to flexible plastic. The most common manufactured abrasive materials are silicon carbide, aluminum oxide, ceramics, or industrial diamond derivatives such as zirconia aluminum. There are also a few natural abrasives such as garnet, flint and emery. While they all work relatively well, these materials vary widely in terms of durability, friability (the ability to break down under stress and reveal new sharp facets), available grit sizes and most importantly, cost. Friction causes heat, and new sharp edges cause less friction. But if the abrasive breaks down too quickly it only works for a few minutes and then starts polishing rather than abrading. The trick is to choose different abrasives for different types of sanding so that a balance between sharpness and durability delivers consistent results.
Aluminum oxide is the most common material nowadays in coarse and medium grit wood sanding, as it offers a good balance between aggression and heat/coolness. It begins life as a white, brown, or pink powder that is easier and less expensive to produce than most other abrasives. The most durable of these is brown, although the others can produce a finer finish. Brown aluminum oxide can last a long time but may leave more evidence of its use in terms of scratches that are not always completely removed by the next finest grit. Aluminum oxide is almost as hard as diamond, and it is available in both open and closed coatings. This basically refers to the amount of material per square inch. The more open the coating, the less abrasive it is but also the less it will clog. Aluminum oxide is tough. The edges don’t dull much before they break away, which helps makes this a very affordable and durable option.
Silicon carbide, or carborundum, is a dark colored crystalline ceramic that has been used in industry as an abrasive for well over a hundred years. There are reports of industrial production of SiC going back to 1893 after its discovery as natural moissanite in Arizona, and today it’s not just used as an abrasive but also as an electrical semiconductor. (That’s a material with the ability to carry a current that lies somewhere between a good conductor such as copper and an insulator such as plastic.) A couple of the properties that make silicon carbide so useful are low thermal expansion and superior thermal shock resistance. Four carbon atoms and one silicon atom combine to create an exceptionally strong crystal-shaped bond that doesn’t break down too quickly as it heats up. It’s often found as a coating on surfaces that are used to melt glass, so it has no problem keeping up with the heat generated by a random orbit sander. Hard and sharp, silicon carbide is a little bit more brittle than other sandpaper options so it can wear down faster. But its sharpness makes it an ideal choice for finer grits where it can produce very smooth surfaces, and indeed some manufacturers refer to its friability as ‘self-sharpening’. That friability also makes it the only sandpaper that will work well on a marble countertop, and it’s often used in wet sanding or in sanding between coatings. It’s exceptionally well-suited to sanding MDF.
Ceramic alumina (also just called ‘ceramic’) is a more expensive but very long-lasting abrasive option than silicon carbide or aluminum oxide. It’s probably not a great choice for fine wood finishing as it’s pretty aggressive. And zirconia aluminum (or alumina-Zirconia) is usually offered only in coarse grits for surfacing, rather than for fine coating prep. It’s an ideal choice for early passes on raw and figured woods where planing is not an option because of tear-out.
Ceramics are more often found in coarse applications because they can be manufactured in different shapes, from chunks to shards. They’re more expensive because the manufacturing process is a little more complicated, but they also last a lot longer than other types of abrasives.
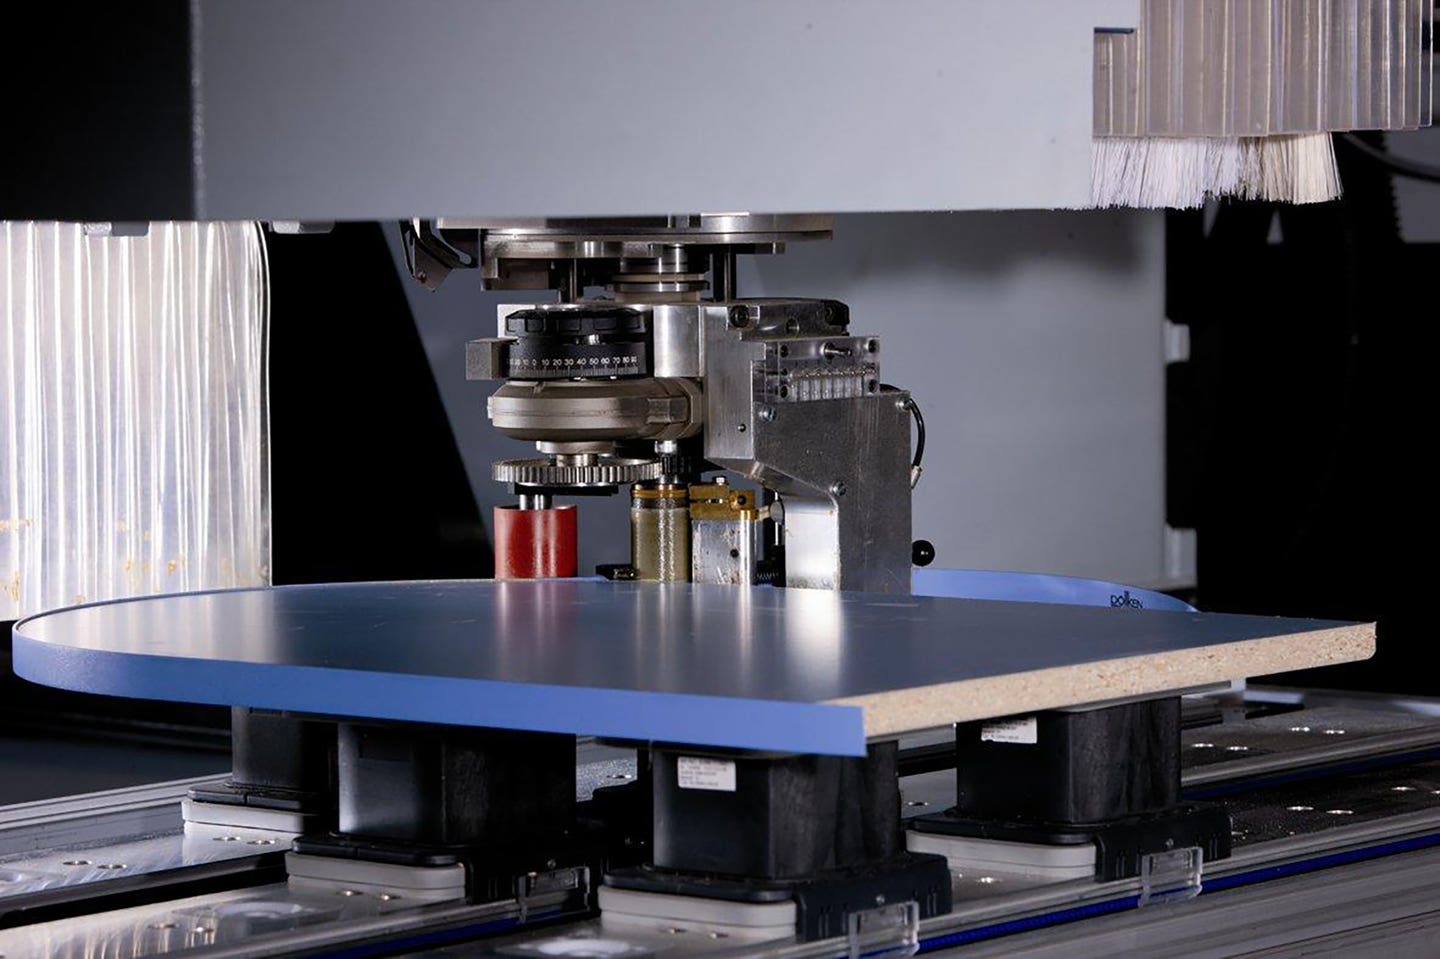
Grit size is crucial, but sometimes a little less so than others. Slightly coarser grits that follow a linear pattern along the grain (as in wide belt sanding with little or no side oscillation) are going to leave less discernable patterns than the same grit when used in orbital patterns where scratches are made across the grain in a circular motion. As more sanding is done by collaborative robots (cobots), these highly sophisticated and programmable machines can reduce cross-grain orbital contact and use longer-lasting lower grit sizes, thus reducing the cost of abrasives. But most woodshops are still working our way down through the grits, and here are a couple of thoughts to keep in mind. The job doesn’t always have to start with the coarsest grit. Sometimes, all you need is a medium grit to get going if the wood is well planed. And it’s sometimes okay to skip a grit, especially in well-behaved woods such as straight grained quartersawn stock. You can dampen the surface and check for scratches under a strong light before proceeding.
Hand sanding
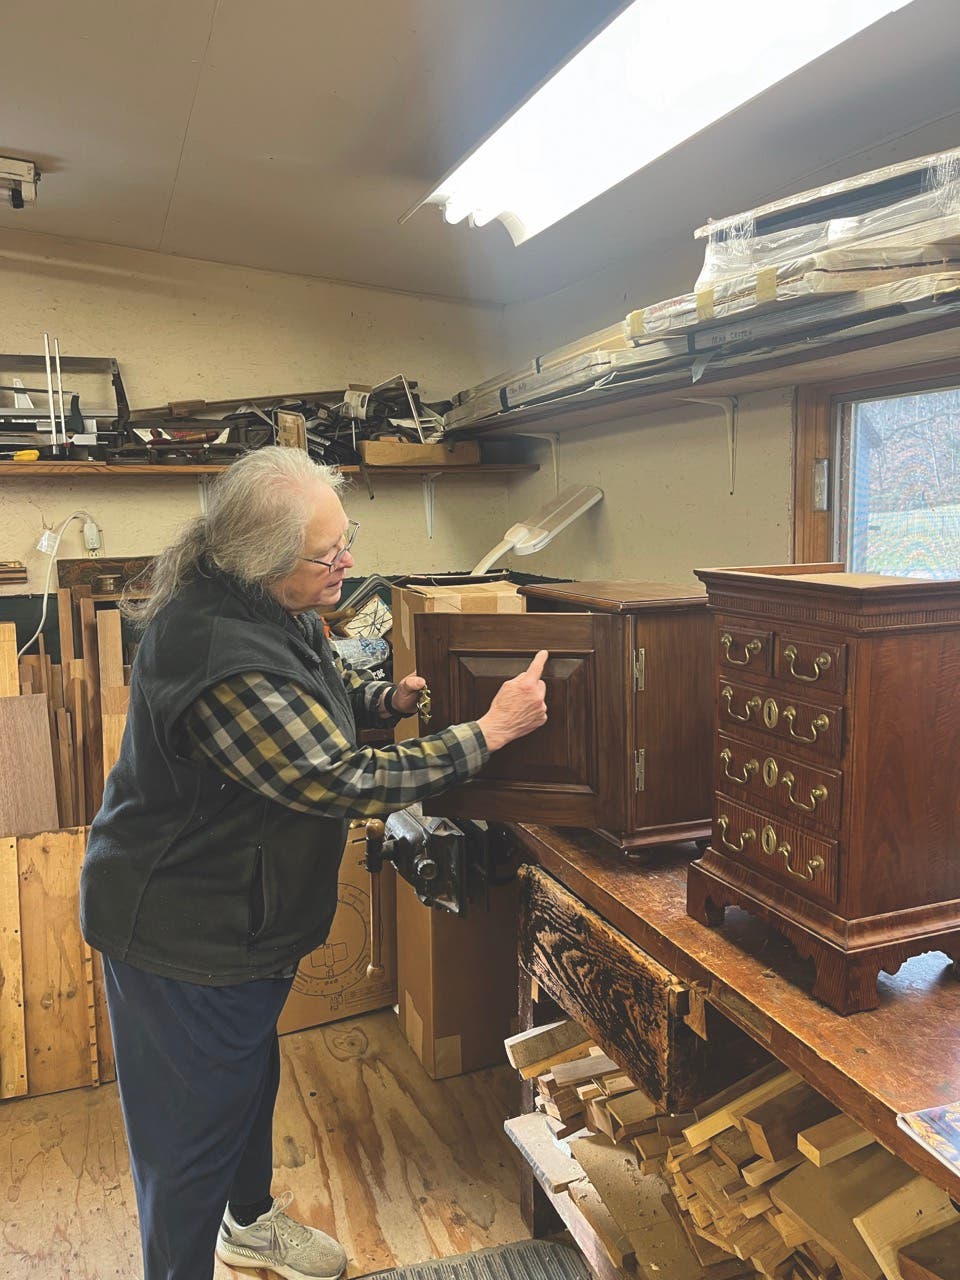
Furniture shops rather than casework manufacturers are more likely to use manual hand sanding as an option. That’s because they don’t always deal with consistently flat panels or manufactured sheet goods. When a part involves solid hardwood or contours, hand sanding can often be the fastest way to produce a coating-ready surface.
The following guidelines on sanding without a machine come from the staff at Klingspor Abrasives (klingspor.com), which notes that sanding blocks can be easily made of shop scraps with a thin layer of cork on the face that hosts the paper. This provides a tiny bit of flexibility between the hard block and the sandpaper, which will leave a softer scratch for an ultra-fine finish. There are many manufactured blocks on the market for flat sanding or contours. Wood dowels are effective backers for sanding contours and sponge rubber can be used to make a simple, flexible hand block for non-uniform contours. A good size for a block is 3” x 5” x 1-1/4” as it uses a standard quarter sheet, and the best way to keep the paper on the block is to just use hand pressure rather than staples or tape. That way, one can rotate the sheet from time to time to present new, sharp grain edges to the work.
The key to hand sanding is to work along the grain with no side-to-side movement. The main exception to that is, of course, sanding turned parts on a lathe. On furniture or casework, it’s a good idea to wipe the surface of the work frequently with a soft, slightly damp rag or a tack cloth. Don’t use compressed air to blow dust off a damp surface as that may actually cause some dust particles to adhere. Use a raking light to illuminate the work from an angle to see how the sanding is progressing, and to highlight potential problem areas, and tap the sanding pad frequently against your hand or a flat surface to help keep it clean. Standing at the end of a board rather than the side helps move the sanding block in a straight line.
When sanding frames, the Klingspor crew recommends doing the rails first and then the stiles to eliminate cross grain scratches. Hardwoods are normally sanded to a higher grit finish (180 to 220) than softwood (120 to 180), and if the end grain is going to match the color of the face and edge grain, you might want to sand it one to two grits higher (smoother) than the rest of the panel before applying finish.
For centuries, fine woodworkers have moistened solid wood (not veneers!) with a wet cloth and then allowed the surface to dry. This will raise the grain and fibers and allow them to be sanded smooth. A good practice is to do the final sanding, then raise the grain and sand again with the same grit. Use 220 grit on sanding sealer and 320 or 400 grit between coats of lacquer, oil, or shellac. For sanding final coats of oil or lacquer, the Klingspor staff says that an 800 to 1200 wet/dry silicon carbide abrasive will level out minute imperfections in the surface.
Sure, you can use a machine for your final sanding and get decent results. But for a remarkable surface, it’s hard to beat the consistency delivered by hand sanding.