No room for error
“Do you still have all your fingers?” Boy, doesn’t that get old? It’s the first question people ask when they hear that you’ve been woodworking for a while. The implication…
“Do you still have all your fingers?” Boy, doesn’t that get old? It’s the first question people ask when they hear that you’ve been woodworking for a while. The implication is not only that woodworking is inherently dangerous, but also that woodworkers are not exactly bright.
The truth is that our craft requires a complex and sophisticated set of skills and that even the most experienced among us are always looking for ways to learn. Revisiting the basics with new employees is essential. And that process also helps old-timers remember why they have so much respect for blades, knives and cutters.
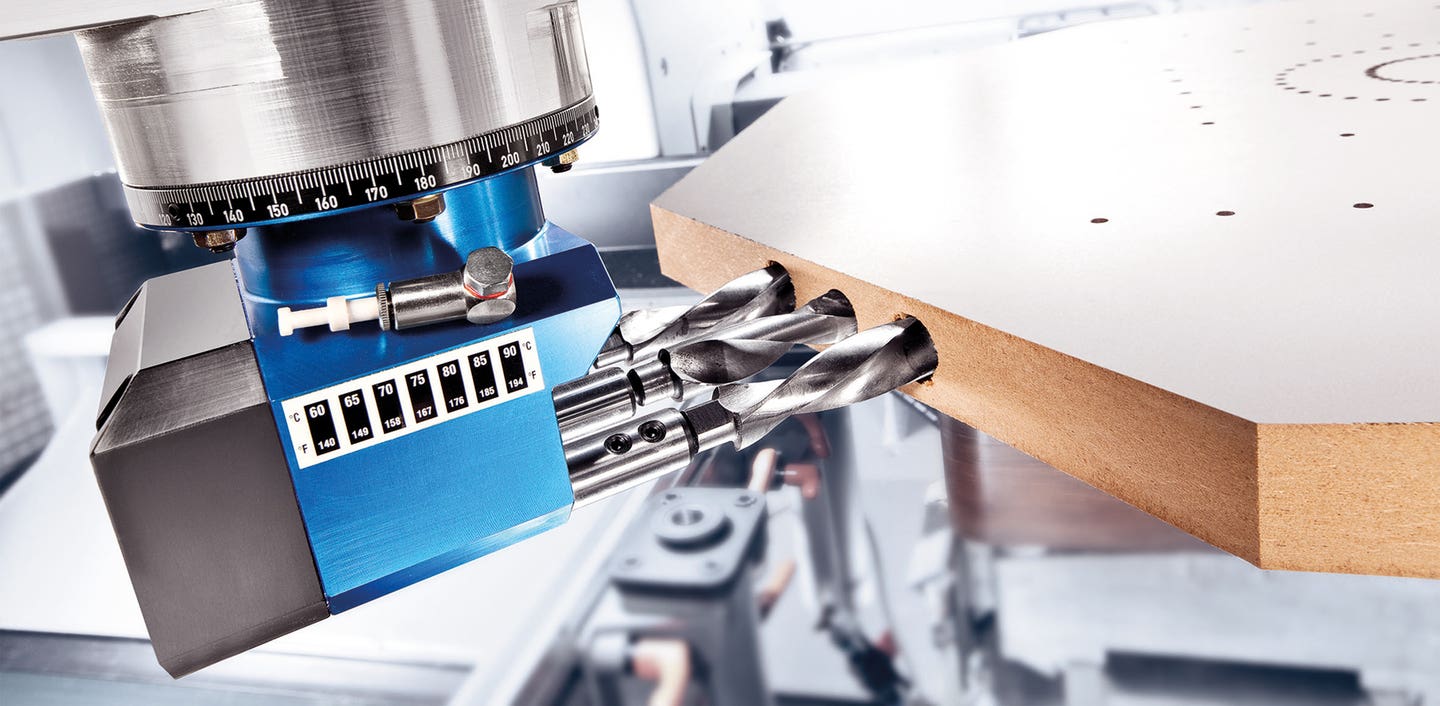
Table saws
This is the most controversial safety area in the modern shop. The Consumer Product Safety Commission and the State of California are currently considering legislation that would require blade-braking technology on all new saws. However, most of us already own perfectly satisfactory saws that don’t have a brake, and there are lots of things we can do to keep ourselves — and our employees — safe. It’s far more common for a table saw accident to result from kickback than from somebody touching the blade, so tackling kickback is a good place to start.
Begin by making sure the blade is lined up with the miter gauge grooves. This will help prevent binding (and kickback) during crosscuts. On cabinet saws, the adjustment is very simple. Just loosen the top [Photo 1], line it up and tighten it. Contractor saws are a little trickier: the motor isn’t attached to the cabinet, but is instead bolted to the underside of the tabletop. Check your saw’s manual for recommended procedures. A dial gauge (also called a dial indicator) is the best way to check alignment [Photo 2].
With the blade lined up with the grooves, one can quickly check that the fence is accurate. It, too, needs to line up perfectly with the grooves. If the back end of the fence veers away from the blade, the cut will begin to drift wide. And if the back end veers toward the blade, the cut will drift narrow. Both situations are an invitation to kickback because the work will eventually bind between the blade and the fence.
It’s essential that every board ripped on the table saw is both flat on the bottom and straight along the edge that meets the fence. These two adjacent planes (the bottom face and the right edge of the board) must visit the jointer before being ripped. If the edge against the fence isn’t straight, the board will travel left or right, causing the blade to bind in the kerf, and throw the board back at you. If the bottom isn’t flat, the board can twist and catch the blade or bounce because it isn’t supported underneath. This usually results in a loss of control.
One of the best safety add-ons in recent years is the riving knife. This replaces a stationary splitter with a splitter that rises, falls and tilts with the blade. The result is that there are far fewer occasions where a woodworker has to remove the splitter/guard assembly to make through cuts. If your saw doesn’t have a riving knife, there are some inexpensive aftermarket kits that replace the factory splitter with an easier-to-use version [Photo 3]. The key advantage here is that the plastic splitter simply pops out after the saw is turned off.
Saws should be fitted with hold-downs and featherboards for most ripping operations. The most comfortable options include wheels that only turn in one direction [Photo 4], and large shop-built featherboards that can be either bolted or clamped to the left-hand table saw wing. In our shop, we have drilled and tapped holes in the cast-iron wings to accommodate these boards. Small plastic ones that are widely available are great for router tables, but they don’t seem to have the heft required for table saw work.
Sweep the floor constantly in front of the table saw. Fine dust can be slippery and this isn’t a place to lose your footing.
I like to raise the blade so that the bottoms of the gullets are about 1/4” above the top of the workpiece [Photo 5]. This means that the gullets can keep the cut clean, while there is still enough blade in contact with the work to make a safe cut — and not too much exposed above the wood.
Cut narrow moldings off the edge of a wide board. Ripping thin stock is a recipe for disaster. If a narrow strip or a molding needs to be shaved, try the thickness planer, a belt sander or, best of all, a hand plane.
If a workpiece binds and begins to shudder, the best advice is to hold it hard against the fence and tabletop (keeping hands well away from the blade) and have somebody shut off the saw. If you lessen your grip, you lose control and the saw will launch the wood across the shop.
There are some plastic see-through guards available as aftermarket options that are not attached to the saw table. These catch dust, chips and, in an emergency, can knock down flying boards.
If it’s possible to use a push stick safely, one should use it. Never reach across a spinning blade.
Router tables
The most important rules about router tables are feed issues. On through cuts (where you can see the bit), the workpiece should never be fed between the fence and the bit. On these cuts, the cutter should always be working the edge farthest from you (that is, the bit should be partially buried in the fence), or the work will bind and become airborne. Blind cuts, such as grooves in the center of a board, can be made safely with some wood on the near side of the bit.
With the router mounted bottom-up in a router table, the cut is made by feeding the wood from right to left. Traveling in the other direction will result in a climb cut and, as often as not, the bit will grab the work and shoot it out to the infeed (right) side of the table.
Deep cuts need to be made in increments. If your router is bogging down, make the cut in several steps. If the cut is too deep, the work can catch and kick back or the router can be damaged.
If it’s possible to use a push stick safely, one should use it. Mill profiles on the edges of wider boards and rip them to width on the table saw, rather than passing thin stock across the router table.
One more good habit to instill: never wipe dust off a router table with your hand. Always blow dust away. Even a stopped bit can cut.
Jointers
When jointing the wide faces of boards, hold the work down with a pad and push it with a stick. Most jointer injuries happen when people are feeding thin boards across the knives. If the board is less than 3” thick or if a board on its edge is less than 3” wide, a pad and a push stick are essential. Fingers should never be within 3” of the knives.
Band saws
These (and perhaps drill presses) are the most underestimated machines in the shop. They don’t make a lot of noise, the blade travels a lot slower than a table saw and they just don’t look scary. Yet they are responsible for an inordinate number of injuries.
Expose as little of the blade as possible (that is, lower the guard), don’t make any adjustments while the blade is running and, at the end of a cut, think about whether you can safely pull the work through the last inch or two, instead of pushing fingers close to the blade [Photo 6]. Don’t ask blades to turn smaller radii than they are designed to cut (see the packaging) and be slow and deliberate when moving around this seemingly innocuous, but still quite dangerous, machine.
Miter saws
I won’t have a radial arm saw in my shop because I believe they have a design flaw that is inherently dangerous. But the new generation of miter saw has a lot of safety built in and, as long as one uses common sense, they’re pretty safe. First off, don’t cut boards that aren’t straight. If the work is against the fence at the ends, but doesn’t touch in the middle [Photo 7], the blade will bind as the cut is made and there will be kickback.
When making compound cuts, think about whether there is a safe way to clamp the work in place rather than holding it where your hands are too close to the blade. Be sure the blade won’t contact the clamp(s) and that both sides of the cut are clamped so that one of the severed pieces doesn’t migrate into the blade. And with profiled pieces (moldings), clamps sometimes have a tendency to come loose, so pay special attention to that.
Always use a sharp blade. Dull blades in any tool are dangerous.
Above all, remember that the most dangerous tool in the shop is you. Being preoccupied, overconfident, in a hurry or distracted are the main causes of accidents. While the guidelines given here are by no means an exclusive list, they’re a good starting point and they can encourage discussion that brings up other issues.
This article originally appeared in the September 2012 issue.